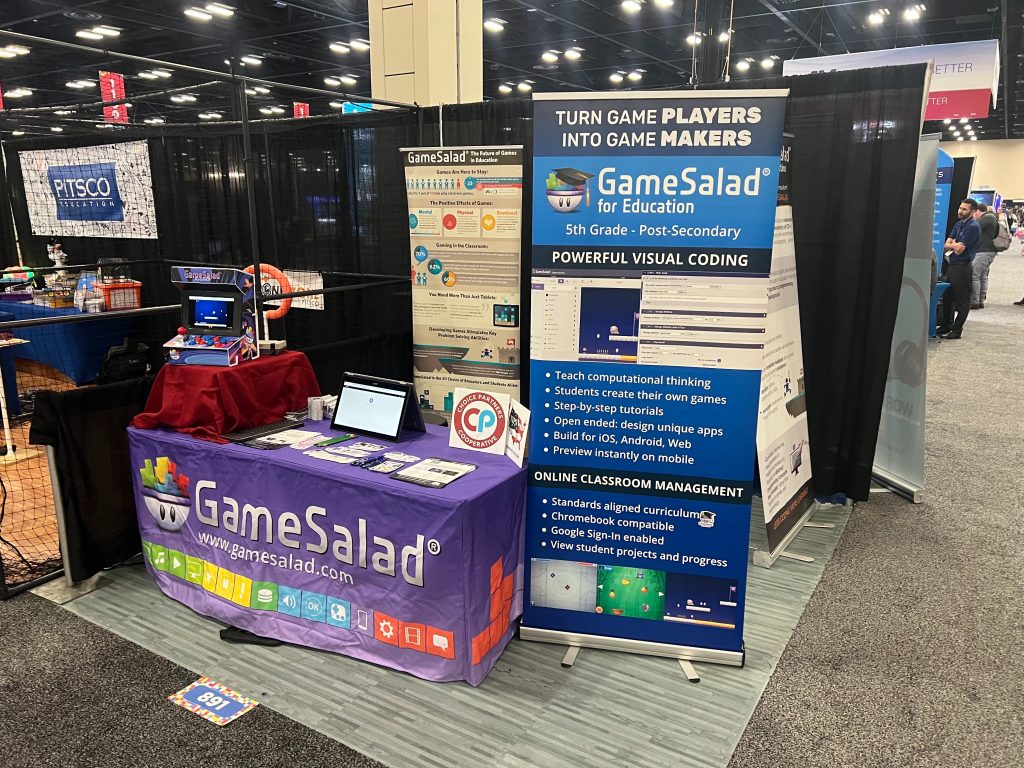
If you’ve seen GameSalad a convention or event in recent years, you’ve likely seen our mini arcade cabinet! A lot of people show interest in buying it or building their own! So here’s a quick rundown of the parts!
The Shell.
The file linked below contains the template for the main arcade machine. We had a local sign printer print the shell on 4mm coroplast (fluted plastic board).
https://www.dropbox.com/s/2xkkoa1accckuoz/Large%20Sheet%20Arcade%20Cabinet%20Tabbed.pdf?dl=0
The template includes two version, one for a 24″ x 48″ sheet and one for two sheets a 36″ x 24″ sheet and a 24″ x 12″ sheet. Choose what works best with your local sign company. Have them print it on 4mm coroplast (the same material that makes up yard signs).
This designed was inspired by the CardCade. If you’d like something a bit bigger and has room for two players, go buy a copy of their template here: https://www.etsy.com/listing/706372507/tabletop-bartop-arcade-template.
You can get it for 40% off with code ‘gamesalad’ and they even have a full sized stand up one!
If it weren’t for the size being a bit bigger than we wanted, we would definitely have just used their design as it’s superior to ours in almost every way!
The Controller
I got these from Amazon buttons from Amazon:
https://www.amazon.com/gp/product/B08CRR2SM9
There are some obvious pots where you should cut out holes for the buttons. We also needed as set of 4 screws and nuts to mount the joystick to the cabinet. There’s a lot of vibration when people are playing, so we suggest also using a bit of threadlocker on the screws to keep players from jiggling things apart.
The Screen
We used the following screen on Amazon, though I’m sure you can find similar ones on Ebay and other marketplaces:
https://www.amazon.com/gp/product/B07R4WMKBR
I cut a piece of black Coroplast to fit in the face of the cabinet and then cut a hole in the middle big enough to embed the screen.
I then used black electrical tape to tape the screen to to the black board and the whole thing to the arcade cabinet.
The cabinet design has two middle panels to support the monitor. I mounted the electronics for both the controllers and the monitor on these near the back of the case and cut holes in the back to allow wires through. This lets you hook up any PC you have to the cabinet.
The Brains
If you need a suggestion for a PC, I used a Raspberry Pi 4B.
The case I used was this one: https://www.amazon.com/gp/product/B097XWGB7R
This case was the cheapest one I could find that supported the SATA flash drive (which boots much faster than the SD card).
This is a high level overview of how things are put together and we hope that helps you build your very own mini arcade cabinet!
Are you a teacher looking to level-up coding in your classroom?
Looking to make your very own GameSalad games?